Lethal Company Stealth & Evasion Guide: Survive Without Fighting
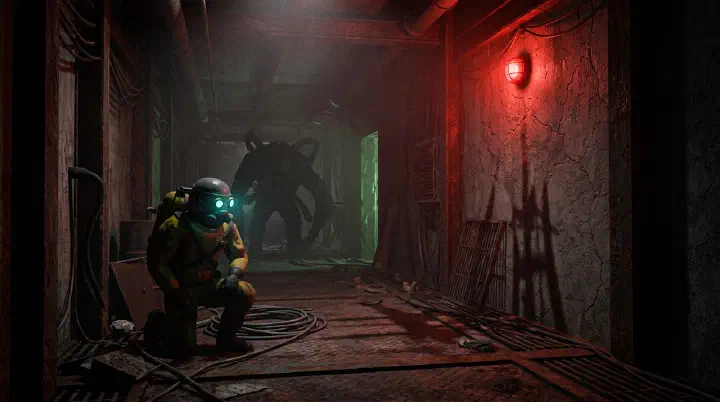
The Sound That Kills You are crouched in a dark corridor on Experimentation, flashlight off, holding your breath. The Bracken is three feet away, its flower-head twitching as it scans the doorway you just slipped through. Your heart is hammering. You know the rule: if it sees you, you have seconds to break line of sight before it snaps your neck. Then your walkie crackles. Your teammate, safe on the ship, unmutes and says, “Hey, where are you guys?” The Bracken whips around. You don’t even get to stand up. ...