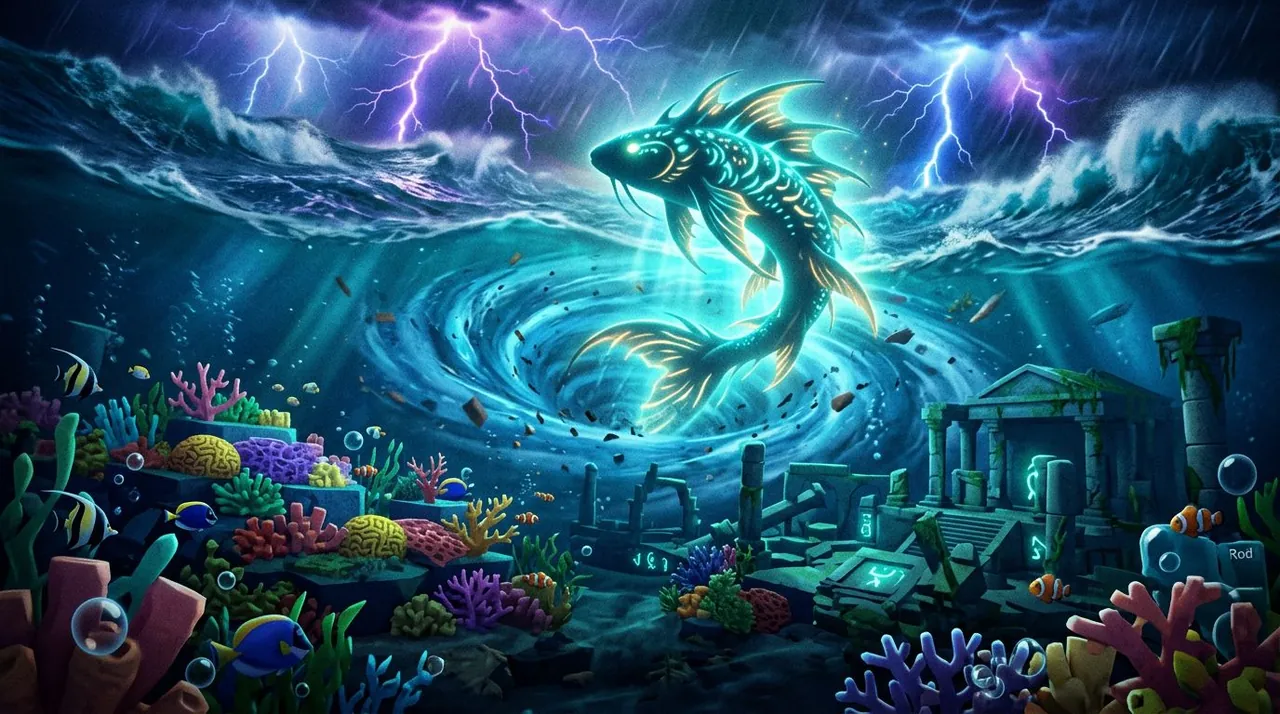
The Whirlpool Swallows Your Bobber and the Screen Changes
You boat out past Roslit Bay, past the familiar coral shelves, and into the open water of the Grand Reef. The sky is clear. The water is flat. You cast into the first whirlpool you see.
The bobber sinks. The catch bar pops up. You reel in a fish, check the name, and it’s a Reef Minnow. Not what you came for. You cast again. Another Reef Minnow. Then a Coral Geode. Then a Reef Minnow again.
Something is wrong. You look at the top of your screen. No “Atlantean Storm” banner. You’re standing in the wrong patch of water.
The Grand Reef is a big zone. Most of it catches native Grand Reef fish — the Reef Minnows, the Coral Geodes, the standard stuff. The Atlantean Storm bestiary fish only spawn inside the whirlpools that swirl around the outer islands, and you have to be close enough to trigger the zone label. Miss the label and you’re just fishing the Grand Reef normally. You could burn an hour of bait and never see a single bestiary fish.
This guide walks the full Atlantean Storm bestiary: where to stand, which bait to bring, which season and weather each fish needs, and how to knock out all eight without wasting Sundial Totems on the wrong season.
Where the Atlantean Storm Actually Lives
The spawn zone sits at roughly X:-3530, Y:130, Z:550 — west of Roslit Bay, northwest of Forsaken Shores. You’ll see whirlpools spinning around the outer islands. Head toward them. Watch the top of your screen. When “Atlantean Storm” appears, stop and cast. That’s the zone.
Captain Neptune waits on a pirate ship nearby at roughly X:-3576, Y:151, Z:523. Talk to him to start the Captain Neptune Quest, which is the formal bestiary completion task. You don’t need to talk to him before catching the fish — you can catch all eight and then turn them in. But starting the quest gives you a tracker, and it’s easier to know what you’re missing when the quest UI shows it.
One thing that trips people up: the whirlpools move. They don’t stay in one spot. If you’re anchored and the “Atlantean Storm” label disappears, the whirlpool drifted. Move your boat. Re-find the zone. It’s annoying but consistent — the zone label is your only reliable indicator that you’re in the right water.
The 8 Fish: A Full Bestiary Table
Eight fish make up the Atlantean Storm bestiary. Two per season, two per bait type at the high end, and a sharp difficulty jump from Rare to Legendary.
| Fish | Rarity | Bait | Season | Weather | Time |
|---|---|---|---|---|---|
| Tempest Ray | Uncommon | Sea Weed | Winter | Windy | Any |
| Abyss Snapper | Uncommon | Fish Head | Autumn | Foggy | Any |
| Vortex Barracuda | Unusual | Minnow | Summer | Clear | Any |
| Whirlpool Marlin | Unusual | Squid | Spring | Rain | Any |
| Typhoon Tuna | Rare | Fish Head | Winter | Rain | Any |
| Cyclone Mako | Rare | Fish Head | Spring | Windy | Any |
| Maelstorm Shark | Legendary | Truffle Worm | Autumn | Foggy | Any |
| Void Angler | Mythical | Truffle Worm | Summer | Clear | Any |
Every fish is catchable at any time of day, which is a mercy. The season and weather are the gates, not the clock.
The bait pattern is clean: Sea Weed for the first Uncommon, Fish Head covers three fish (one Uncommon, two Rare), Minnow and Squid cover the two Unusuals, and Truffle Worm covers the Legendary and Mythic. Three bait types plus two specialty baits for the Unusuals. You’ll want a stack of each before you start.
You’re Missing One Fish — Here’s the Fix
You’ve caught seven. The bestiary shows one grayed-out slot: Tempest Ray. You’ve been at the whirlpool for forty minutes. You’ve burned through 80 Sea Weed. You’ve caught three Typhoon Tuna, two Cyclone Mako, and a pile of junk. No Tempest Ray.
Here’s what happened. You’re fishing in Summer. The whirlpool is active, the label is showing, and the other fish are biting — so you assume everything is working. But Tempest Ray needs Winter and Windy weather. You’re two conditions off. The game will still spawn other bestiary fish that match your current season, but it won’t spawn the one you’re missing.
The fix: check your current season. If it’s not Winter, use a Sundial Totem to skip ahead. Then pop a Windset Totem for the wind. Now cast Sea Weed into the whirlpool. The Tempest Ray should bite within 10 to 20 casts once the conditions match.
This pattern repeats. Abyss Snapper won’t show in Spring. Vortex Barracuda won’t show in Winter. The game doesn’t tell you which season you’re in — you have to check the HUD or the settings menu. If you’re stuck on a fish and you’ve matched the bait, the season is almost always the problem.
The other failure mode: you’re not actually in the whirlpool zone. You’re close. The water looks right. But the “Atlantean Storm” label isn’t on screen. You’ve drifted out. Cast a few times and check the fish names. If you’re pulling Reef Minnows or Coral Geodes, you’re in the wrong water. Move toward the whirlpool visuals until the label appears.
Which Fish to Chase Right Now: A Season-by-Season Decision Table
Seasons change in real time. Waiting for the right season to roll around naturally can take hours. The smart play is to check what season you’re in right now and chase the two fish that match it. Use totems to force the weather. Then Sundial to the next season and repeat.
| Current Season | Chase These Fish | Totem(s) Needed | Bait to Bring |
|---|---|---|---|
| Winter | Tempest Ray, Typhoon Tuna | Windset (for Tempest Ray), Tempest (for Typhoon Tuna) | Sea Weed, Fish Head |
| Spring | Whirlpool Marlin, Cyclone Mako | Tempest (for Whirlpool Marlin), Windset (for Cyclone Mako) | Squid, Fish Head |
| Summer | Vortex Barracuda, Void Angler | None (Clear is default for Vortex), None (Clear for Void Angler) | Minnow, Truffle Worm |
| Autumn | Abyss Snapper, Maelstorm Shark | Smokescreen (both need Foggy) | Fish Head, Truffle Worm |
Summer is the easiest season because both fish want Clear weather, which is the default. No weather totem needed. Winter and Spring each need two different weather totems — one per fish. Autumn is the most efficient season because both fish share the same weather condition (Foggy), so one Smokescreen Totem covers both.
If you’re starting from scratch, the practical order is: check your current season, knock out those two fish, Sundial to the next season, repeat. Four Sundial Totems and four weather totems will cover the full bestiary if you plan the sequence right.
The Real Bottleneck Is the Fish You’re Not Counting
Here’s the thing most players get wrong: they stockpile Truffle Worms for the Maelstorm Shark and Void Angler, and they treat Sea Weed and Fish Head as unlimited throwaway bait. Then they check their bestiary after an hour and realize they’re still missing the Tempest Ray.
The Maelstorm Shark and Void Angler have lower spawn rates — that’s confirmed. But the grind is predictable. You bring 20 Truffle Worms, you set the right weather, you cast. You know exactly what you’re doing and roughly how long it’ll take. The low spawn rate is frustrating, but it’s not surprising.
The Uncommon fish are the trap. Tempest Ray and Abyss Snapper use cheap bait, so you cast without counting. You burn 100 Sea Weed without noticing. You assume they’ll bite eventually because they’re only Uncommon. But if your season or weather is wrong, they won’t bite at all — and cheap bait makes it too easy to keep casting instead of stopping to check the conditions.
The fix is simple: before you start fishing for any bestiary slot, open your bestiary and confirm which fish you’re actually missing. Write down the two conditions that fish needs. Match them. Then cast. Don’t fish blind. Cheap bait is cheap, but time is not.
The second counterintuitive thing: weather totems are cheaper than waiting. A Windset Totem costs 2,000 C$ from the merchant at Roslit Bay. A Smokescreen Totem is the same price. A Tempest Totem is 2,000 C$. Waiting for natural wind, fog, or rain can take 20 to 40 minutes of real time. You can earn 2,000 C$ in under five minutes with a decent rod. Spend the C$. Buy the totem. Force the weather. Your time is worth more than the totem cost.
Where to Get Every Bait Without Wasting Time
Three of the five baits are easy. Two are a grind. Here’s where each one comes from and the fastest way to stock up.
Sea Weed is everywhere. You’ll pick it up passively while fishing in almost any zone. If you somehow run out, fish in shallow water at Moosewood for five minutes. You’ll have more than you need.
Fish Head comes from Bait Crates (7.69% drop rate) and Quality Bait Crates (11.1%). You can also get it from Angler NPC quests — 5 or more completed quests unlocks Fish Head as a reward. If you’ve been doing Angler quests, you probably already have a stack. If not, open Bait Crates. You’ll need roughly 30 to 40 Fish Heads total for Abyss Snapper, Typhoon Tuna, and Cyclone Mako combined.
Minnow spawns in the pond at Roslit Bay. Best conditions: Clear weather, Spring season, Bagel bait. Fish the pond for 10 minutes and you’ll have enough for the Vortex Barracuda. You only need one fish from this bait, so 20 Minnows is plenty.
Squid spawns in the ocean at Roslit Bay. Best conditions: Foggy weather, Night time, Winter season, Shrimp bait. Same deal as Minnow — you only need it for the Whirlpool Marlin, so 20 Squid is a safe stack.
Truffle Worm is the expensive one. Your options:
- Coral Geodes (600 C$ each) from the Desolate Pocket shop — open them for a chance at Truffle Worms
- Volcanic Geodes from fishing in the Volcano zone
- Treasure Chests from fishing anywhere
- 50+ completed Angler NPC quests
- Redeem codes (check our codes and rewards guide for active ones)
The Coral Geode route is the most reliable. Buy 10 to 15 Geodes (6,000 to 9,000 C$), open them, and you should get enough Truffle Worms for both the Maelstorm Shark and Void Angler. If you’ve been saving Volcanic Geodes from Volcano fishing, open those first — they’re free if you already have them.
Captain Neptune’s Rewards and Whether They’re Worth It
Captain Neptune sits on the pirate ship near the whirlpools. Talk to him to start the quest, catch all eight fish, and return. The confirmed rewards:
- 4 Hangman’s Hooks — rare bait used for high-tier fishing. Worth stockpiling.
- 5 Kraken Tentacles — another rare bait, useful for boss fishing and high-value catches.
- Drifter’s Tale Bobber — a cosmetic bobber. No stat benefit, but it looks distinct and marks that you finished the bestiary.
Some sources also list 5,000 C$ and 2,500 XP as separate bestiary completion rewards. These may be bundled into the quest turn-in or they may pop automatically when you catch the eighth fish. The exact trigger is unconfirmed — see the section below.
Is the quest worth it? The Hangman’s Hooks and Kraken Tentacles are genuinely useful bait that you’d otherwise need to grind for or buy. The Drifter’s Tale Bobber is cosmetic, but it’s a permanent account unlock and a completion marker. If you’re already fishing the Grand Reef for other reasons, the bestiary is a side objective that pays out real bait. If you’re coming to the Grand Reef just for this, spend your time on the best rods tier list and rare and mythic fish guide first — the Atlantean Storm is a completionist goal, not a progression requirement.
The quest structure is similar to the Outer Deep bestiary: catch everything, talk to the NPC, collect your rewards. If you’ve done that one, you know the rhythm.
FAQ
See the FAQ section in the frontmatter above for the most common questions. Here are a few more that come up during the grind:
Can I catch these fish outside the whirlpool? No. The bestiary fish only spawn in the “Atlantean Storm” zone. Fishing elsewhere in the Grand Reef catches native Grand Reef fish. If the zone label isn’t on screen, you’re in the wrong spot.
Do I need a specific rod? No rod is required, but high Luck helps. The No-Life Rod and Rod of the Eternal King are the best options. Avoid rods with low Max Kg — the Maelstorm Shark and Void Angler are heavy and will snap a weak line. Check our rod progression timeline if you’re not sure what to use.
How long does the full bestiary take? Plan for 2 to 4 hours depending on your luck and preparation. If you have all the bait ready and the right totems, two hours is realistic. If you’re gathering bait and waiting for natural weather, expect four or more.
What happens if I catch a fish but the quest doesn’t register it? Make sure you started the Captain Neptune Quest before catching. If you caught fish before starting the quest, they should still count — the bestiary tracks catches regardless of quest state. If a fish isn’t registering, check that you’re in the right zone and that the fish name matches exactly.
What’s Unconfirmed
Three things in this guide come from community reports rather than direct data-mining or developer confirmation:
The 5,000 C$ and 2,500 XP rewards. Multiple player sources list these as separate bestiary completion rewards, but it’s unclear whether they trigger on catching the eighth fish or on turning in the Captain Neptune quest. If you complete the bestiary and don’t see the C$ and XP pop, check your balance after the quest turn-in.
Whether Uncommon, Unusual, and Rare fish can be caught without matching season and weather. Some players report catching Tempest Ray outside of Winter/Windy and Vortex Barracuda outside of Summer/Clear. The spawn rate appears to drop sharply when conditions don’t match, but it may not be zero. If you catch one of these fish without matching conditions, it’s not a bug — just uncommon luck. For consistent results, match the conditions.
Exact spawn rate percentages for Maelstorm Shark and Void Angler. The “notably lower spawn rate” is confirmed by player experience, but the specific percentage difference between the Legendary/Mythic fish and the lower-rarity fish has not been data-mined publicly. Expect to burn 10 to 20 Truffle Worms per fish as a rough estimate, but your mileage will vary.
If you’re working through other bestiary challenges in Fisch, the Outer Deep bestiary guide covers a similar completion format, and the weather and seasons guide breaks down every totem, season cycle, and weather mechanic in detail.