Your Companion Is Buffing You and You Can’t See It
You hit Level 30, the game tells you the Companion Satchel is open, you grab a companion, equip it, and then you fish for an hour and nothing looks different. The catch bar is the same width. The fish fight the same. You check your stats and see no “+Luck” line anywhere.
That’s the first failure every new companion owner makes. You expect a visible effect — damage numbers, a heal, a new button. Companions in Fisch don’t do any of that. They run passive buffs that only show up in small numbers: a fish that moves 20% slower, a trash fish that sells for 2.5x, a progress bar that nudges forward by itself while you’re not touching it.
The error is assuming the companion is broken. The cause is that the buffs are invisible by design. The recovery is knowing what to look for, which is the whole point of this guide.
Here’s the short version before we go deep. Companions unlock at Level 30 automatically. You equip exactly one at a time. That companion gives you a passive fishing buff that gets stronger as the companion levels from 1 to 10. That’s the whole system — no combat, no feeding loops for most of them, just a buff you carry while you fish.
The hard part isn’t understanding that. It’s knowing which of the current companions to chase, because three of them sit behind multi-hour grinds and two more hide behind global hunt timers.
The System: Level 30, One Slot, and a 52,000-XP Climb
The Companion Satchel unlocks the moment you reach Level 30, with no quest and no purchase. Press C to open it. From there you see every companion you own, switch which one is active, and apply skins.
You can own them all. You can only run one. The developers have talked about adding more equip slots later, but right now there’s a single active slot, and only the equipped companion’s passive is live. Owning a second companion does nothing until you swap it in.
Leveling is where the grind lives. Every companion starts at Level 1 and caps at Level 10, and the passive scales with each level — higher proc chances, longer durations, bigger numbers. Getting to 10 takes about 52,076 total XP, and the curve is back-loaded. Early levels fly by. Levels 8 through 10 eat most of that total.
The XP sources break down like this:
| Action | Companion XP |
|---|---|
| Catch a fish | +10 |
| Interact with the companion | +5 |
| Walk for 10 seconds | +1 |
| Use Companion Candy | +1,500 |
Catch XP is the steady drip. Interact and walk XP are capped between catches, so they’re seasoning, not the main course. Companion Candy is the real accelerator — a single candy is worth 150 fish — but candy is scarce and mostly shows up through codes and events. Our leveling and XP farming guide covers how to stack your own player XP while a companion slowly climbs beside you.
The practical routine is boring and effective: keep a companion equipped while you fish normally, walk between spots, tap interact when you remember, and dump any Companion Candy you find into the one you actually use. Don’t spread candy across five companions. Pick one, feed it, done.
Scrapbot Is the Capstone, Not the Reason to Do The Deep
Scrapbot is the companion everyone asks about, and it’s the one most people should not chase first. It’s tied to the full The Deep questline, the longest chain Fisch has shipped, and the community’s honest estimate is up to 15 hours of grinding to reach it. That’s not a companion grind. That’s a content expansion with a companion stapled to the end.
The counterintuitive read: if you’re not doing The Deep anyway, do not start The Deep for Scrapbot. The questline pays out rods, hunts, and survey content that matter far more than the pet. Scrapbot is the reward for finishing the expansion, not a reason to start it. If all you want is a passive buff, Ollie or Mosswaddler get you there in a fraction of the time.
If you are going in, here’s the full chain, because the game does not hand it to you in one clean list.
You start with Cadet Shimmer Fininn, standing on the ship marked “The Deep” at coordinates (228, 130, -11945). Before you can even talk to him properly, you need four diving items equipped: the Flipper, Oxygen Tank, Tidebreaker, and Diving Gear. He hands you a broken, inactive device — the Deep Survey Device — and sends you down.
From there the chain runs: reach Deep City, talk to Narius, and get your MK1 device upgraded to MK2 by activating five pillars scattered through The Deep and Lower Deep. With the MK2 device, you travel to Gloomy Crevice and finish the required survey. Then the side quests — the Quartermaster, Shipwright Kyle, and Curator Lyra all gate progress before the final stage. Only after all of that does Tinkerer Oric’s request inside Deep City give you Scrapbot as a follower.
What Scrapbot actually does is the thin part of the record. Every source agrees it passively retrieves materials and catches fish while you play, but the exact proc rate and cooldown are not consistently documented. Treat the specifics as unconfirmed. The one thing that is certain is the cost: this is the single longest unlock in the companion roster, and it is not a good early pickup.
We cover the rest of that expansion — the Survey Device, the zones, and the rods — in the The Deep update guide. If you’re going in anyway, you’ll want it open.
Smudge: 25 Scrips, Three Weird Items, and a Night Walk
Smudge is the opposite of Scrapbot on the effort curve. It’s a direct purchase — 25 Shady Scrips from the Companion Dealer inside the Shady Bazaar — but the Scrips are the hard part, because you can’t reach the bazaar without a questline, and the Scrips have their own economy.
First, the bazaar. It unlocks through a Moosewood chain that starts with Todd, who lives in the house next to the Merchant, on a bunk bed. Pick the first response to everything he asks. Then, at night, you collect three items from three NPCs around the island: the Tarnished Lantern from the Fisher on the left side, the Barnacled Hook from the Diver at the pond, and the Crow Feather Charm from the Watchman on the right side. Bring all three to the lighthouse, equip them, and answer Some Shady Guy’s riddle — the item clues are “Light keeps honest folk safe,” “The sea gives things up eventually,” and “Trust isn’t given down there. It’s survived.” The gate opens.
Then you need 25 Scrips. Shady Scrips (S$) come from bazaar quests like the Shady Angler, from daily interactions, from certain rod passives, and from selling specific mutated fish. You can also convert cash at the Scrip Vendor at 100,000 C$ per Scrip, but that conversion is a trap if Smudge is your goal — converted Scrips do not level it. More on that in a second.
What Smudge does: it grants random Trash fish with the Sludged mutation, which multiplies their value by 2.5x, roughly every one to two minutes. It also slows hooked fish movement by 20% during the minigame, can occasionally earn you more Scrips, and its triggers tighten up in foggy weather — one source pegs a 10% Sludged chance on any catch during fog. That’s a genuinely useful pet for a trash-farming or passive-income setup, and it doubles as a slow that makes fast fish easier to land.
The twist is the leveling. Smudge does not use the standard XP pool. It levels from Shady Scrips earned through gameplay. Converting cash into Scrips does not level it. So if you want a high-level Smudge, you’re committing to actually playing inside the bazaar, not just buying your way through.
Mosswaddler: Don’t Chase It, Let It Come to You
Mosswaddler came with the Livyatan hunt update on May 30, 2026, and it’s tied to the Mosslurker Apex Hunt, a global server event that runs roughly every four hours. That timer is the whole problem with this companion: you can’t farm it on demand. You wait for the event, you participate, and you hope the spawn rolls your way.
The flow is simple once the event fires. Take your boat into open water and find the Mosslurker Pool. Stay near it and let the event end naturally. When it closes, multiple Mosswaddlers spawn swimming around the pool. This is where most people blow it — they speed in with a big boat, splash around, and the Mosswaddlers scatter. You approach quietly in a smaller boat, jump in calmly, and interact with one to claim it.
You don’t feed it. You don’t fight it. The only requirement is patience and not spooking the spawn. The appearance isn’t guaranteed, so plan on possibly sitting through more than one hunt. The code livyatanandcompanions gives a shiny violet Mosswaddler variant, and that code alone is a decent reason to check our codes and rewards guide.
The passive is a freeze. While fishing, every five seconds Mosswaddler has a chance to freeze the fish in place — a reported 20% base chance scaling to 40%, freezing for 3 seconds up to 7, with a 6-second cooldown. A frozen fish can’t fight the catch bar, which makes this the companion for anyone who loses fast or erratic fish to the minigame.
Relic Construct: Feed It the Right Relic or Waste the Trip
Relic Construct is the most mechanically interesting companion in the game, and also the easiest to get wrong. It spawns inside the Keeper’s Altar, walking the outer edges of the area. Reach it by boating to the Statue of Sovereignty at (20, 160, -1040), between Sunstone Island and Moosewood, then riding the mine elevator down.
The spawn is low-base, but much more common during Sovereign Weather and Power Burst events. Once you find it, you feed it a relic to attempt a tame. The tame chance depends on the relic:
| Relic | Tame Chance |
|---|---|
| Enchant Relic | 10% |
| Exalted Relic | 25% |
| Cosmic Relic | 40% |
| Twisted Relic | 40% |
| Invincible Relic | 40% |
| Song of the Deep | 50% |
| Sovereign Relic | 100% |
Here’s the part that saves your sanity: a failed tame does not consume your relic. The game tells you the Construct “needs more power,” and you keep the relic. Only the Sovereign Relic guarantees the tame in one shot at 100%.
But the tame is only half of it. The Relic Construct is the one companion whose buff changes based on what you feed it, and the buff splits into Primary and Secondary slots — one active from each, keyed to the last relic you fed. Stronger buffs only switch on once the Construct reaches the required level, and the Sovereign Relic at level 10 is the clear best, stacking luck, resilience, fish weight, XP, and forced progress into a single effect.
On top of the buff, the Relic Construct has a passive that relic farmers specifically care about: it doubles your catch rate for Enchant, Exalted, and Sovereign relics, and it halves the power loss on the Keeperbound Rod. If you live in the enchant loop, this is the companion, full stop. If you don’t touch relics, you’re leaving most of its value on the table.
Ollie the Otter: Hold the Fish, Don’t Chase the Otter
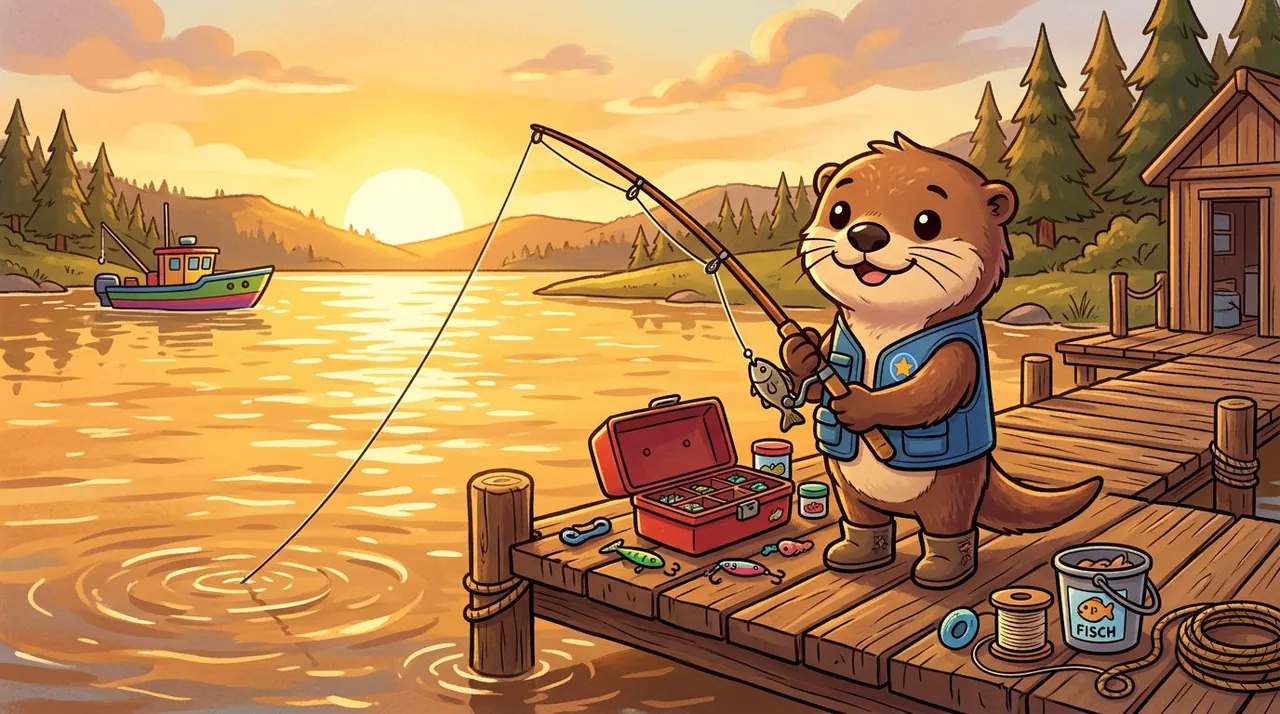
Ollie landed in the minor update on July 11, 2026, and it’s the fastest companion to add to your collection. No quest, no Scrips, no hunt timer. You take a fish to Terrapin Island and let an otter eat it.
The failure mode is chasing him. Ollie spawns in and around the island’s water, and the exact spot varies by source — some report the shoreline at (-200, 130, 1925), others the river near the White Bass abundance spot, others a hidden water area under the island. If you swim directly at him, he bolts. The trick is to hold the fish in your hand, jump in near him, and swim in slow circles alongside him until he comes to you.
For the fish, bring a small one. Anchovy is the most commonly cited and the safest bet, with Snook and bass-type fish also reported working. Carry a couple of options so you can swap if he ignores the first. Turn on Fish Radar — Ollie shows a yellow highlight, which makes a moving otter far easier to spot. When he eats it, you get a notification like “The Ollie Otter gobbled up your Anchovy!” and he’s yours.
The passive is progress. Ollie attacks the catch bar to boost your fishing progress, and he can find extra fish or treasure, occasionally triggering a mini-game above the bar you have to clear before the reward lands. It’s a straight speed upgrade for anyone whose bottleneck is how long fish take to reel in. The same update shipped the code OllieAndFinWhale, which needed level 25+ and expired July 12, 2026 — so if you’re reading this after that, it’s gone.
Which Companion Should You Get First?
Instead of a tier list, here’s the decision in the form that actually matters — what you’re doing right now:
| Your situation | Get this first | Why |
|---|---|---|
| Below Level 30 | Nothing — level to 30 | The Companion Satchel doesn’t open until Level 30, so every companion is locked regardless |
| Level 30+, want a passive fast | Ollie the Otter | One fish, one trip, no questline or hunt timer |
| Already inside The Deep | Scrapbot (as a byproduct) | You’re on the questline anyway; never start it just for the pet |
| You farm relics or enchant | Relic Construct | Doubles Enchant/Exalted/Sovereign relic catch rate |
| You lose fast fish to the minigame | Mosswaddler | Freeze proc holds the fish still |
| You want passive trash income | Smudge | Sludged 2.5x on trash plus a 20% slow |
The honest bottom line: if you’re under Level 30, this entire guide is a to-do list for later. Get to 30 first. If you’re at 30 and just want a companion equipped, Ollie is the answer and it isn’t close on effort.
The Counterintuitive Part: Match the Companion to Your Rod, Not the Tier List
Tier lists rank companions by raw buff value, and that’s a trap. The “best” companion is the one that patches whatever your current rod does badly, not the one with the biggest number.
Concrete example: Mosswaddler’s freeze is a headline passive, but if you’re running a high-resilience rod that already holds fish steady, that freeze is doing almost nothing for you. You’d be carrying a pet that solves a problem you don’t have. Meanwhile a low-resilience rod that loses fish constantly turns the same Mosswaddler into a game-saver.
Same logic in the other direction. If you’re on a relic or enchant loop, the Relic Construct’s doubled relic catch rate out-earns every “S-tier” passive in the game, because it’s the only companion that accelerates the exact thing you’re grinding. A raw luck buff from a different pet doesn’t touch your relic income.
And Smudge is the sleeper here. Its 2.5x Sludged mutation only looks weak until you realize trash fish, which you’d normally vendor for pocket change, become a passive income stream that keeps rolling while you chase rare catches. It also feeds the Shady Bazaar economy, which most players ignore entirely.
The rule that survives all of it: read your rod, find the weak spot, and pick the companion that covers it. Don’t buy a tier list’s opinion. Your rod’s weakness is the only stat that matters.
What’s Unconfirmed
A few things in this guide are thinner than the rest, and I’d rather flag them than invent precision.
Scrapbot’s passive numbers. Every source confirms it retrieves materials and catches fish, but the exact proc rate, cooldown, and whether it scales with level aren’t consistently documented. Treat the specifics as unconfirmed until the wiki settles.
Ollie’s exact spawn spot. Sources disagree on whether he’s at the shoreline coordinates, the river, or a cave under the island. The feeding method is consistent; the location is not. Circle the island and use Fish Radar.
Mosswaddler’s freeze numbers. The 20–40% chance, 3–7 second duration, and 6-second cooldown come from one guide and aren’t independently confirmed everywhere. The freeze itself is real; the exact scaling is the uncertain part.
The full roster count. Original launch sources list 10 companions; newer guides list 16, including the Deep, Livyatan, and Ollie additions. The total depends on which update you’re counting from. This guide covers the five confirmed companions from the most recent updates, not the original ten like Nico, Gary ‘Gator, and Tropical Toucan.
Companion Candy source. Everyone agrees it’s worth 1,500 XP, but where it reliably comes from — codes, events, or a vendor — isn’t nailed down in the sources I found.
If you’re working the The Deep content for Scrapbot, keep the The Deep update guide open alongside it. The side-quest order matters, and our NPC quest priority guide covers which NPCs to hit first. And before you burn a four-hour hunt window on Mosswaddler, scan the codes and rewards guide to make sure you’ve redeemed livyatanandcompanions for the violet variant.