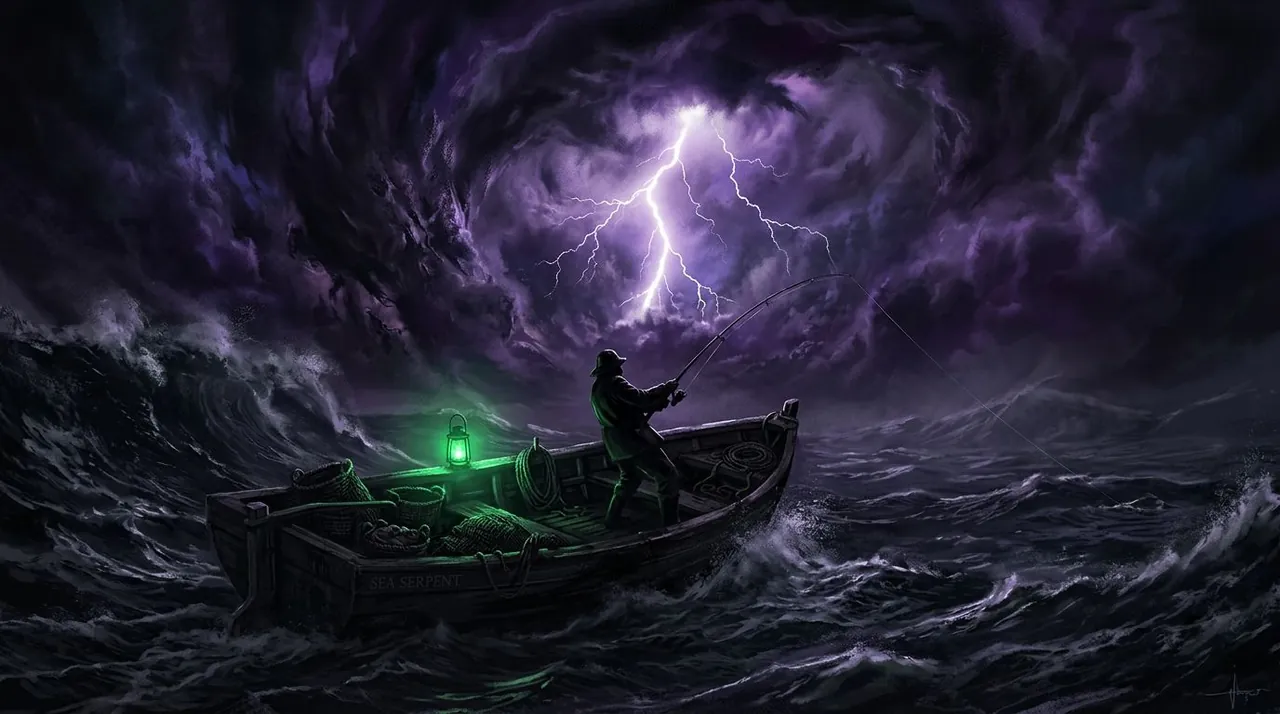
The Sky Goes Black and You Have 15 Minutes to Decide
You are on Moosewood, halfway through a routine money-farming session. The Cusk Purger is doing its job. The bait stack is holding. Then the screen dims. Not the subtle dim of nightfall — the kind where the sky turns charcoal and the water goes dark and the music shifts. A Cursed Storm just rolled in, and you have roughly 15 minutes before it clears.
Most players keep farming. They see the dark sky, they shrug, they cast again. And they miss the Compact Disc, the eight Cyan Candles, the Mysterious Shadow, and the quest progress that opens the Noiseform Rod. The storm passes. The sky clears. Nothing changes in their inventory.
This guide is about making sure that does not happen. The Cursed Storm is a rare negative weather event in Fisch. It gates quest items, unlocks a hidden NPC, and pays for the totem that triggered it — if you know what to do during the 15-minute window.
What a Cursed Storm Actually Is
Fisch has four standard weather types — Clear, Rain, Foggy, Windy — each giving a +35% catch rate boost to fish that prefer it. The Cursed Storm is a special event weather, closer to an Eclipse or Aurora Borealis but negative in tone. The sky darkens. The ambient light drops. Players who have never seen one often think their game bugged out.
Mechanically, the Cursed Storm does two things. First, it is a weather tag — fish that list “Cursed Storm” as a preferred condition spawn more often, or only, while the storm is active. The exact fish list is not fully documented, but the principle matches every other weather type: match the weather to the fish and your odds improve.
Second, and more importantly, the storm is the activation condition for quest mechanics. The eight Cyan Candles. The Hawaii special pool. The Mysterious Shadow NPC. None of these exist without the storm. This is the part most players miss: the Cursed Storm is a quest weather first, not a fishing weather. The fish are a side benefit. The quest items are the main event. The storm lasts roughly 15 minutes — if you are not already in the Bazaar or en route to Hawaii when it starts, you will spend half the window traveling.
How to Trigger a Cursed Storm
Two ways. They are not equal.
The Cursed Storm Totem is the deterministic route. Buy it, pop it, storm starts. No randomness. Prices shift between updates, so check the in-game shop. The logic is what matters: this totem is a deliberate currency sink, priced knowing that players who need a storm will pay for the guarantee.
The Aurora Totem rolls a random event from its pool. Cursed Storm is one outcome, with a community-estimated 20% chance. Four out of five give you a standard Aurora, Eclipse, or Mutation Surge instead. If an Aurora Totem costs roughly 500,000 C$ and hits a storm 20% of the time, you are spending an average of 2.5 million C$ per storm. The Cursed Storm Totem almost certainly costs less.
The failure pattern: a player buys three Aurora Totems, pops them back-to-back, gets three standard Auroras, and concludes the mechanic is bugged. It is not. They rolled the 80% outcome three times, which happens roughly half the time. The rule: if you need a storm specifically, buy the dedicated totem. If you are happy with whatever the Aurora Totem rolls, gamble. The Aurora Totem is a good item for the right reason. Fishing for a 20% storm roll is the wrong reason.
The Storm Checklist: What to Do in 15 Minutes
Once the storm is active, the clock is running. Here is what to do, in order, assuming you pre-positioned before triggering.
Step 1: Light All 8 Cyan Candles
The Shady Bazaar is the hidden black market under Moosewood. If you have not unlocked it yet, finish the Todd questline first — three ghost NPCs at night, the lighthouse riddle, the trapdoor. Our Noiseform Rod guide walks the full unlock.
Inside the Bazaar, eight Cyan Candles are scattered around the vendors and corners. During a Cursed Storm, they highlight and become interactable. Outside a storm, the prompt appears but does nothing. This is the number-one failure mode: players find the candles, click them, see no response, and assume they are bugged. They are not. The storm is not active.
The candles sit near the Bait Dealer, the Rare Goods Dealer, opposite the Shady Merchant, near the Companion Dealer, under the balcony where the Mysterious Shadow will spawn, and on top of debris above eye level. The last one is the one people miss. Look up. Walk the full perimeter.
Light all eight. The Mysterious Shadow spawns on the balcony at the far end. Talk to him immediately — the quest persists after the storm, but the NPC only appears during one.
Step 2: Fish the Hawaii Pool for the Compact Disc
If you have the Restricted Noiseform Rod, the next step is the Compact Disc. During a Cursed Storm, a special pool appears in Hawaii. Fish it with the Restricted Noiseform equipped and you can pull the disc — a required quest item for unrestricting the rod.
This is tight on time. Hawaii is a travel from Moosewood. The pre-positioning play: light the candles first (you are already on Moosewood), then boat to Hawaii, then trigger the storm. Or trigger, sprint the candles, and boat fast. The candles are the higher priority because the NPC spawn is once-per-storm. The pool is guaranteed during the storm — you can fish it as long as the storm holds.
If you are not on the Noiseform questline yet, skip this step. The Compact Disc has no use outside the rod unrestriction chain. Do not fish Hawaii during a storm just because you heard there is a special pool. The pool is for a specific quest item.
Step 3: Redeem the Code
The code “the deep awaits for you” was confirmed active recently. It gives the Chromatic Noiseform skin after you finish the questline. Redeem it now in the Codes box under Settings. Codes expire. Do not wait until you finish the quest — redeem first, earn the skin later. Check our codes and rewards guide for what else is currently active.
Step 4: Fish for Storm Catches (If You Have Time)
If you finished the candles, talked to the NPC, grabbed the disc, and still have minutes left, fish. The Cursed Storm weather tag likely boosts certain fish spawns. Cast into your best spot and see what bites. Treat this as a bonus round, not the main objective.
What the Storm Is Worth
The Cursed Storm is worth the quest items it unlocks. The Compact Disc, the Mysterious Shadow encounter, the eight candles — those are the things you cannot get any other way. If you are using the storm to unlock the Noiseform Rod, the totem’s C$ cost is a progression investment that pays back in rod stats.
What the storm is not worth is raw C$ farming. If you are sitting on a Cusk Purger or Titanium Rod and your goal is credits per hour, a Cursed Storm will not outperform a standard Clear-weather session at your best money spot. The storm’s fish table is not documented as a high-C$-per-catch pool. It is a weather event for questing, not for grinding.
This is the counter-intuitive read. Players see a rare weather event and assume it is a jackpot. They burn a totem, fish for 15 minutes, sell their catches, and end up with less C$ than they would have made in the same 15 minutes at the Desolate Deep. The totem cost eats the profit. The storm is a key, not a money printer. Use it to open doors.
The one exception: if you are hunting a specific fish that lists “Cursed Storm” as a preferred weather condition, and you have verified it in the Fischpedia, then the storm is your window. Match the bait, match the rod, and fish. But confirm the fish first. Do not assume.
A Failure Retrospective: Three Ways Players Waste Storms
A player has been grinding Fisch for a month. He has a decent rod, a stack of Aurora Totems, and a friend who told him “Cursed Storms are how you get the Noiseform Rod.” He does not read guides. Here is what happens.
Failure 1: Candles without a storm. He finds the Shady Bazaar, sees the Cyan Candles, clicks them. Nothing happens. He assumes the candles are decorative and leaves. Right place, wrong time. Fix: trigger the storm first. The candles only light during an active storm.
Failure 2: The Aurora Totem chain. He buys four Aurora Totems. First: standard Aurora. Second: Eclipse. Third: Mutation Surge. Fourth: standard Aurora. Four totems, zero storms, roughly 2 million C$ gone. He rolled the 80% outcome four times — about 41% odds. Not bad luck. The wrong tool. Fix: buy the Cursed Storm Totem. One totem, one storm, guaranteed.
Failure 3: The storm passes while he travels. He finally gets a storm on Moosewood, remembers the Compact Disc is in Hawaii, and boats there. By the time he arrives, the storm has three minutes left. Two casts, nothing, storm ends. Fix: pre-position. Be in the Bazaar before you trigger. Light the candles first. The storm clock does not pause for your boat ride.
Decision Framework: If You Have X Goal, Do Y During the Storm
| Your Goal | What to Do | Totem to Use |
|---|---|---|
| Start the Noiseform questline | Light all 8 Cyan Candles, talk to the Mysterious Shadow | Cursed Storm Totem |
| Unrestrict the Noiseform Rod | Fish the Hawaii pool with Restricted Noiseform for the Compact Disc | Cursed Storm Totem |
| Both candles and Compact Disc | Light candles first, then boat to Hawaii, fish the pool | Cursed Storm Totem |
| Storm-exclusive fish | Fish your target spot with matching bait, confirm the fish exists first | Cursed Storm Totem or natural spawn |
| General C$ farming | Skip the storm. Keep farming your money spot | None |
The “both candles and Compact Disc” row is the tight one. Light the candles fast — do not read dialogue, do not browse the shop, do not check your inventory. Click the candles, click the NPC, boat to Hawaii, cast. The NPC quest persists after the storm. The pool does not.
The Pre-Positioning Play
The single highest-impact tip for Cursed Storms: be where you need to be before you trigger. The totem is a planned event, not a reaction.
If you need the candles, be inside the Shady Bazaar. Walk the route once without the storm so you know where all eight candles are. Then pop the totem. You can run the route in under three minutes.
If you need the Compact Disc, be in Hawaii. Stand at the shore. Pop the totem. The pool appears. You get the full 15 minutes.
If you need both, be in the Bazaar. Light the candles in three minutes. Talk to the NPC in thirty seconds. Boat to Hawaii. You have roughly ten minutes to fish the pool. Tight but doable with a fast boat.
The mistake is popping the totem from Moosewood pier and then reading this guide for the first time while the clock ticks. Learn the checklist first. Pop the totem second.
Related Guides
- Fisch Noiseform Rod Guide — Full questline the Cursed Storm unlocks
- Fisch Weather & Season Guide — How rain, fog, and wind change catches
- Fisch Weather, Time & Season Guide — Day-night cycle and the 90% penalty
- Fisch Best Rods Tier List — Which rod to use during the storm window
- Fisch Rod Progression Timeline — When to chase the Noiseform Rod
- Fisch Codes & Rewards Guide — Active codes and “the deep awaits for you”
- Fisch Boss Fishing & Hunting Guide — Boss fish and storm weather
- Fisch Rare & Mythic Fish Guide — Rares that care about weather
- Fisch Bait Economy Guide — What bait to bring for the storm window
- Fisch Rod & Bait Combination Guide — Rod and bait pairings
- Fisch Atlantean Storm Bestiary — Another storm event and bestiary
- Fisch Beginner Guide — Start here if the Bazaar is still locked