You Got 290% Luck, But First You Light Candles in the Rain
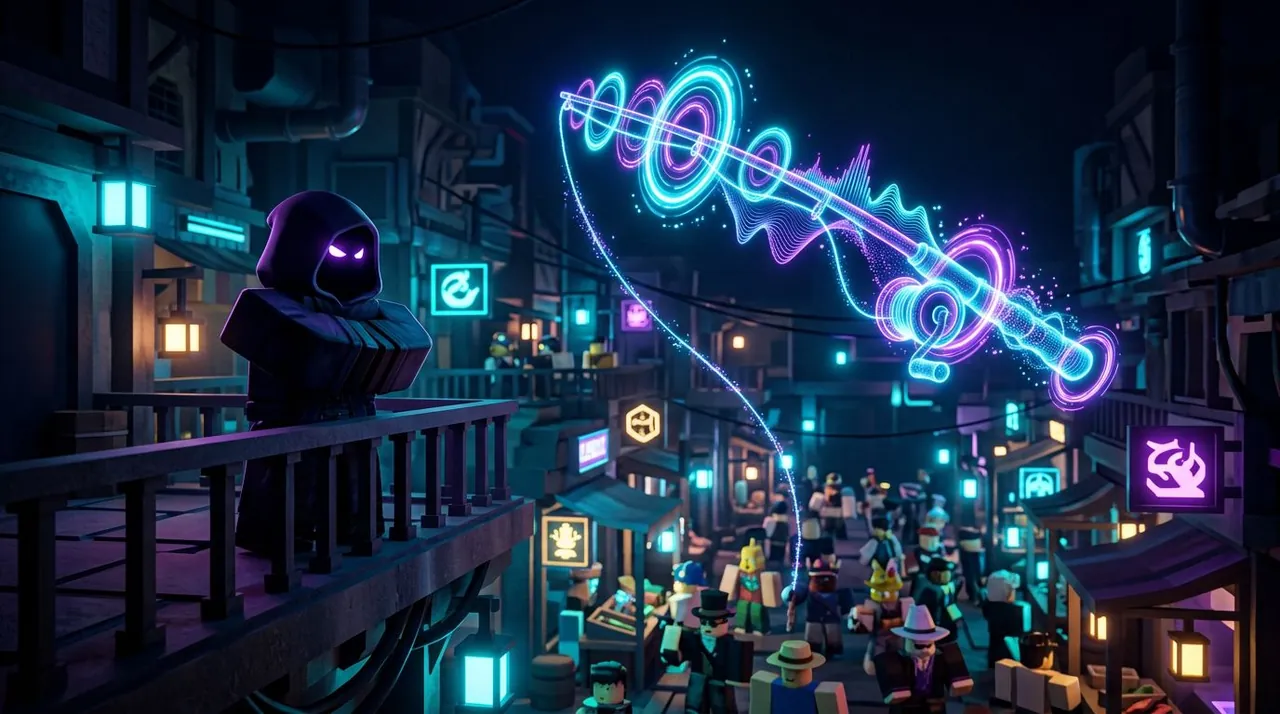
You finally pull it off. The Noiseform Rod lands in your hands — Stage 12, 290% Luck, infinite max weight, a mutation table that reads like a dev’s wish list. Then the catch bar splits into three glowing zones, arrows rain down the screen, and a ghost copy of your last fish pops out of nowhere. This is not a rod you equip and forget. It is a minigame you have to learn, and it is locked behind the longest questline Fisch shipped in 2026.
The Noiseform Rod arrived in version 1.87.3 on June 10, 2026, as a developer rod tied to The Shady Bazaar — the hidden black market under Moosewood. You don’t buy it, and you don’t find it in a shop. You earn it through a chain that runs from three night-only ghosts, to eight candles lit in a Cursed Storm, to three catch quests that assume you already own half the end-game arsenal, to a tombstone in Hades.
This guide walks it in the order you’ll hit it. If you haven’t opened the Bazaar yet, start with our black market guide for the lay of the area. If you’re mid-progression and wondering where this sits, we compare it to your current rod near the end.
The Shady Bazaar Isn’t on Your Map — Here’s the Door
The first mistake is looking for a door. The Shady Bazaar isn’t a place you walk to. It’s a place you get let into, and the whole unlock happens on Moosewood, at night.
Start with Todd. He’s in the Inn, the building next to the Merchant on Moosewood, lying on the top bunk. Talk to him and pick the first dialogue option on every question. That flags the quest and sets three ghost NPCs loose on the island.
Those three NPCs only appear at night, and they spawn one at a time with gaps of a few minutes between them. A Sundial Totem is the clean way to force night without standing around. Here’s who you’re hunting:
| NPC | Where | Item | Clue |
|---|---|---|---|
| The Fisher | Left side of Moosewood, near the lighthouse | Tarnished Lantern | “Light keeps honest folk safe.” |
| The Diver | The pond on Moosewood | Barnacled Hook Bobber | “The sea gives things up eventually.” |
| The Watchman | Right side, uphill behind the Angler leaderboard | Crow Feather Charm | “Trust isn’t given down there. It’s survived.” |
The Watchman is the one people miss. He’s not near the water. He’s uphill, tucked behind the leaderboard, and if you only sweep the shoreline you’ll walk past him three times before you check the hill.
Collect all three items, then go back to Todd. He points you to the lighthouse, and that’s where the real gate sits.
The Lighthouse Riddle: One Answer Is a Trap
At the lighthouse you meet a shadowy figure — the NPC named Some Shady Guy. Before you talk to him, equip all three items: the Tarnished Lantern, the Barnacled Hook, and the Crow Feather Charm. Skip this step and he won’t respond at all. Players who walk up with the items in their inventory but not equipped burn five minutes wondering why nothing happens.
Then he asks three questions. Each one is a multiple-choice prompt, and the answers map to the three clues you just collected:
- First option — “Light keeps honest folk safe.”
- First option — “The sea gives things up eventually.”
- Third option — “Trust isn’t given down there. It’s survived.”
That third one is the trap. The first two answers are the first option. The third answer is the third option. Players who get comfortable clicking option one on everything fail on the Watchman’s clue, and the trapdoor stays shut. It’s not bugged. It’s the quest quietly checking whether you actually read the clues.
Get all three right and the trapdoor opens into the Shady Bazaar. Get one wrong and you close the dialogue, re-equip, and try again — no penalty, just time lost.
Eight Candles, One Cursed Storm
Inside the Bazaar, the Noiseform’s start point is hidden behind a second gate. You need to light eight Cyan Candles during a Cursed Storm, and only then does the Mysterious Shadow NPC spawn.
Two ways to get a Cursed Storm. You use a Cursed Storm Totem for a guaranteed trigger, or you gamble with an Aurora Totem, which only rolls a Cursed Storm 20% of the time. Don’t waste Aurora Totems fishing for the 20% if you have a Cursed Storm Totem on hand — the totem is the deterministic route.
The candles are scattered around the Bazaar and only show their highlight during the storm. A few that players track by coordinates: one under the Mysterious Shadow’s spot around (-2900, -1030, 5980), one beside the Bait Dealer around (-2935, -1030, 6065), one by the Rare Goods Dealer around (-2975, -1025, 6050), one opposite the Shady Merchant around (-3035, -1030, 6090), and one near the Companion Dealer around (-3010, -1030, 6135). There’s also one sitting on top of debris, easy to miss because it’s above eye level.
The failure here is lighting candles in the wrong order or during no storm at all. If there’s no Cursed Storm active, the candles don’t light and the shadow doesn’t appear — you just stand there holding a prompt that does nothing. Light all eight, and the Mysterious Shadow spawns on the balcony at the far end of the building where the Bait Dealer stands. That NPC is your quest giver for the whole rod.
Three Catch Quests That Assume You’re Level 1000
Here’s the counterintuitive part nobody tells you up front: by the time you can even start the Noiseform’s catch quests, you already need most of the end-game arsenal. This is a Stage 12 developer rod, and the quest respects that. You don’t grind the Noiseform with a starter rod. You grind it with rods you already earned elsewhere.
The Mysterious Shadow hands you three catch quests, each a pair of specific fish.
Quest 1. Catch a Sunken Megalodon and a Blossomed Kraken. The Megalodon wants a Dead Man’s Rod (around 20% Sunken chance) or a Sunken Rod as backup. The Blossomed Kraken is the wall — it wants a Verdan Oath (also written Verdant/Veridian Oath) with the Oath enchant, and that rod sits behind a level requirement in the 1,000 range. Some guides also say to avoid a perfect catch so the Blossom mutation actually rolls.
Quest 2. Catch a Soultouched Styx Angler and a Jackpot Shimmering Silverside. The Styx Angler is a Hades-area boss fish, and you need the Hades Scythe (also called Soul Scythe) to roll the Soultouched mutation. Piercing enchant helps; bait like Lumi Larva or Weird Algae helps more. The Shimmering Silverside lives in the Calm Zone, and you fish it with the Random Rod to roll the Jackpot mutation, roughly a coin flip.
Quest 3. Catch a Scylla with the Husk mutation and a Leviathan. The Scylla wants the Requiem Rod. The Leviathan wants a Dusk Wire with the Wobbly enchant — or a Tranquility Rod if you’d rather not fish for the enchant.
Turn in all three pairs and the Mysterious Shadow hands you the Restricted Noiseform Rod. Note the word “restricted.” The rod has its full stats now, but you’re not done with the quest.
If you’re still assembling these rods, our rod progression timeline lays out the order to pick them up without wasting C$ on the wrong one first.
Is the Noiseform Worth the Grind for You?
This is the question most players actually need answered, so let’s put it in a frame instead of a hot take.
| Your situation | Verdict |
|---|---|
| You own the Cusk Purger or Titanium Rod and just want more C$ per hour | Skip it for money. The Cusk Purger out-farms it on raw income. Chase the Noiseform only if you want its mutation engine. |
| You’re under roughly level 1,000 and don’t have the Hades Scythe, Random Rod, Requiem, or Dusk Wire | Don’t start yet. The catch quests are a hard wall without those rods. Bank income first. |
| You want the heaviest catches and the strongest mutation rolls in the game | The Noiseform is your project. Infinite Max Kg plus 35% Soultorn is not available anywhere else in one rod. |
| You’re a completionist or want the Chromatic skin | Grind it. The skin only unlocks after the full line, so there’s no shortcut. |
The short version: the Noiseform is not a money rod. It’s the mutation-and-weight ceiling. Compare it to the Cusk Purger if income is your goal, and to the rest of the developer-rod tier — Castbound and Soulreaper sit in the same end-game bracket, and the Noiseform’s edge over them is the combination of infinite Max Kg with a Ghost passive, not raw Luck. Check the best rods tier list for where each of those lands in practice.
Control 0 Means the Zone Minigame Is the Whole Game
Look at the stat sheet and one number jumps out before any other: Control 0.
| Stat | Value |
|---|---|
| Lure Speed | 125% |
| Luck | 290% |
| Control | 0 |
| Resilience | 65% |
| Progress Speed | +22% |
| Max Kg | Infinite |
| Disturbance | +4 |
| Durability | 0 (no Lava, Noxious Fluid, or Brine fishing) |
Most end-game rods carry a little Control — a fraction that slows the white line and widens the catch bar so you can hold it. The Noiseform gives you zero. You get no passive help keeping the bar on the fish. That means the Zone minigame isn’t a bonus feature; it’s the only thing keeping you in the fight against big fish.
The Zone minigame splits the bar into three zones. Pick the right one and you get +20% progress. Pick the wrong one and your control drops another 28% — which, from a base of zero, is brutal. Land the catch with zero wrong picks and you get a 33% chance to roll Rhythmic, an 11x value mutation.
The counterintuitive read: on the Noiseform, your income isn’t gated by your Luck stat. It’s gated by how cleanly you play the zones. A player who reliably picks the right zone out-earns a player with the same rod who spams casts and eats the control penalty. Control 0 makes the minigame the whole game.
There’s one more durability caveat: the rod has 0 Durability, which means you cannot fish Lava, Noxious Fluid, or Brine. It’s a hard lock, not a warning. Plan your fishing spots around it.
The Passives: Why 35% Soultorn Out-Earns Raw 8.5x
The stat sheet says 35% Soultorn and 25% Flowed. Soultorn is an 8.5x value mutation, Flowed is 6.5x. On paper that looks like “a third of your catches get the big multiplier.” That understates it, and here’s the reason.
The Noiseform also runs a Ghost passive. Every catch has a 35% chance to grant a Soultorn fish of a higher rarity at 1.85x weight. That fires on top of the base Soultorn roll. So a pull can trigger the normal Soultorn, or the Ghost copy, or both — and the Ghost copy upgrades the rarity while it’s at it. The Ghost can’t produce Limited, Gemstone, or Seed fish, which is the one guardrail that keeps it from printing ultra-rares, but it can and does push your average catch up a rarity tier.
That’s why the Noiseform out-earns a rod with a raw higher multiplier. A rod with, say, a 50% chance at one 9x mutation gives you one roll per cast. The Noiseform gives you a base mutation roll plus an independent Ghost roll that also bumps rarity. Two rolls, one of them upgrading the fish. Over an hour, that compounding beats a bigger single number. The raw 8.5x is the headline; the Ghost is the engine.
Rounding out the passives:
- Star Beam fires every 0–10 seconds, lasts about 2.25 seconds, and drops arrows that speed from every 0.5 seconds down to every 0.1 seconds. Each arrow adds +2% progress, and all ten arrows total +20%.
- Progress Speed +22% means the bar fills faster on every catch, which stacks with the Star Beam and the zone bonus.
The whole package is built to make a zero-Control rod work anyway. Every passive is a progress tool, because progress is what you lost when Control hit zero.
Unrestricting: Hawaii, a Tombstone, and the Corrupted Disc
The Restricted Noiseform has full stats, but the quest isn’t over. To fully unrestrict it, you run a second, shorter chain that sends you across the map.
First, trigger another Cursed Storm and go to Hawaii. During the storm, a special pool appears. Fish it with the Restricted Noiseform until you pull out a Compact Disc.
Second, take that disc to Hades — the Underworld of Indefinite — and find the tombstone marked “1913 - 2013”. It sits to the left of the Olympian Fissure entrance. Hold the Compact Disc out and press E on the grave. That teleports you.
Third, complete the obby and talk to the Awakened Witch. She hands you the final collection objectives. Reported items include the Glitched Bloopfish, a Glitched Translucent Scylla, a Vitalic Olympian Devil, a Float Compact Disc, and a Shrouded Angler Lantern from Abyssal Zenith.
Finish those, and the Awakened Witch gives you a Corrupted Disc. Return it to the Mysterious Shadow in the Shady Bazaar, and the Noiseform is fully unrestricted.
If you’re doing all of this inside The Deep’s wider content, keep The Deep update guide open for the zones and the Survey Device — Hades and Abyssal Zenith are both part of that expansion, and you’ll be bouncing between them.
The Chromatic Skin and the Code
Once the Noiseform is fully unrestricted, redeem the code “the deep awaits for you” for the Chromatic Noiseform skin. The skin shifts the rod’s color based on your halo settings, so it’s a cosmetic that tracks how you’ve styled your character.
Two notes. First, the code is the capstone, not a shortcut — it unlocks the skin after the quest, not the rod. Second, codes like this one expire, so redeem it the moment you finish the line rather than letting it sit. If you want to track what else is live and what’s already expired, our codes and rewards guide keeps the current list.
What’s Unconfirmed
A couple of details drift between sources, so flagging them honestly. The earliest unlock description for the Shady Bazaar varied — one source framed the whole thing as “Todd’s quest at the lighthouse,” while the detailed walkthroughs split it into Todd, the three ghost NPCs, and the lighthouse riddle. We followed the detailed split, since it matches the in-game NPC names and items. The exact full list of Awakened Witch collection objectives also varies by source; the Glitched Bloopfish and Shrouded Angler Lantern are consistent, but the order and the full count can shift between patches. Finally, “Verdan Oath” shows up as Veridian Oath and Verdant Oath in different guides — same rod, spelling drift. Treat those three items as the loose ends, and confirm the collection objectives against your own quest tracker when you get there.