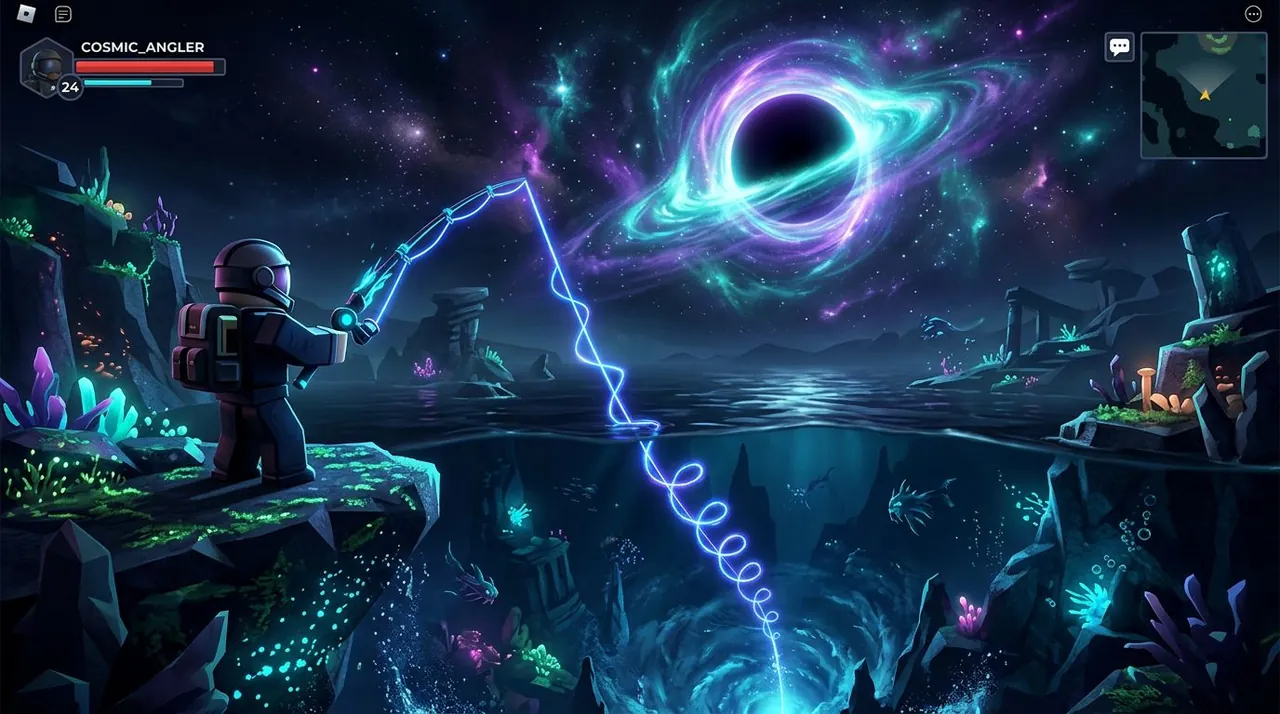
You sink through Sea 3 in the dark, past the fish and the rock shelves, until the light from the surface is gone. At the bottom sits a black hole portal, spinning slow like it’s been waiting for someone to swim into it. You do. The screen stutters, the water pressure noise cuts out, and you land on dry stone inside the Abyssal Zenith Astral Cavern. Before you can look around, a quest marker blinks to life over the NPC in the corner. That’s Corvus. And that marker is the start of the longest rod chase Fisch has shipped so far.
The Rod of Singularity dropped in the Astral Observatory update, around August 22, 2026. It’s not a shop buy, not a boss drop, and not a single quest. It’s two full chains welded together: first Corvus’ four-item collection in Abyssal Zenith, then a hand-off to Merlin for five hidden fish. Miss one step and the whole line stalls. This guide walks it in the order the game wants it done, with the exact rod and bait for each catch.
Why This Rod Is the Endgame Chase
Fisch has always gated its best rods behind a grind, but most of those grinds are one thing: farm C$, or beat one boss, or finish one questline. The Rod of Singularity breaks that pattern. You don’t grind for it. You route for it.
The route matters because the two chains touch six different zones, two NPCs, and a Dyson Sphere item that only exists to hand off between them. The quest assumes you already own several late-game rods — the Celestial Rod, the Requiem Rod, the Cerulean Fang Rod, and something fast like the Plague River. If you’re still building that set, our rod progression timeline lays out the order to pick them up without blowing C$ on the wrong one first.
The payoff is a rod that, depending on which source you trust, is either one of the strongest endgame tools in the game or a solid-but-not-broken chase item. We’ll get into that split honestly in a bit. First, the quest itself.
Step 1 — Corvus and the Four Items of Abyssal Zenith
Start by getting to Abyssal Zenith in Sea 3. Swim straight down to the black hole portal at the bottom and enter the Abyssal Zenith Astral Cavern. Talk to Corvus inside to flag the quest. He wants four things, and each one has a trap built into it.
Item 1: A Sparkling or Shiny Celestial Crowned Anglerfish
Fish this in the Abyssal Zenith secret cavern — the same room where you met Corvus. The mutation is the hard part, so you stack two tools.
First, cast the Celestial Rod long enough to trigger its 15-fish buff. Then swap to the Requiem Rod with Rainbow and Sparkling Totems active. The Celestial Rod’s buff is the setup; the Requiem’s rolls are the payoff. The mistake most players make is staying on the Celestial Rod the whole time, or swapping too early and wasting the buff before it lands on the anglerfish.
Item 2: Nova Hardened Glass
Fish this in the Abyssal Zenith secret room using the Cerulean Fang Rod with Starlight Worm bait — and only during Aurora weather. The weather is the gate. If there’s no Aurora up, you’re fishing into a wall. Pop an Aurora Totem or wait for a natural window, then fish the room. Don’t burn Starlight Worm outside the window.
Item 3: 12 Nova Gold Pieces
These come from the Mine Shaft, not from Abyssal Zenith. Use Crab Cages with Starlight Worm bait. Here’s the counter-intuitive part you’d never guess from reading the other items: do not use Aurora or high-luck bait here. The Nova Gold Pieces already have a high spawn rate in the Mine Shaft, and stacking more luck just wastes bait and totems that do nothing for you. Plain Starlight Worm and patience is the efficient route.
Item 4: 12 Celestial Scrap Metal
Fish in The Depths during daytime with the Celestial Rod and Garbage Bait. Same two-step trick as the anglerfish: activate the Celestial Rod’s 15-catch buff, then swap to a faster rod like the Plague River to pull them in quickly. The buff does the work; the faster rod does the hauling. If you’re new to The Depths itself, keep The Deep update guide open — it maps the zones so you’re not wandering.
Return to Corvus with all four and he hands you the Dyson Sphere.
The Dyson Sphere Handoff to Merlin
The Dyson Sphere is the pivot of the whole quest. It does nothing on its own — no stats, no passive. It’s a quest token, and it exists for one job: getting you from Corvus to Merlin.
Take it straight to Merlin. If you drop it or sell it, Merlin won’t open the second chain, and you’ll be stuck wondering why the quest marker vanished. The sphere is the flag the game checks before it lets Merlin hand out his five fish. No sphere, no fish list.
Step 2 — Merlin’s Five Secret Fish
Merlin wants five secret fish, and each one is tucked into a hidden area. They don’t share a zone, so this half of the quest is a travel route as much as a fishing route. Here’s the full list.
| Secret Fish | Location | How to reach it |
|---|---|---|
| Stabilizer Core | Abyssal Zenith | Same black hole portal you used for Corvus’ quest. |
| Unstable Crystal | Boreal Pines | Swim to the center of the ice lake and enter the dark portal there. |
| Umbral Matrix | Everturn Forest | Find the central pond and enter the cave at the water’s edge. |
| Singularity Control Unit | Cryogenic Canal | Go under the bridge and enter the dark door at the bottom. |
| Stellar Wiring | Snowcap | Use a Blue Moon Totem on a clear night, then enter the lit area at the base of the peak. |
For all five, use a high-luck rod — the Requiem Rod or the Plague River — with high-luck bait. The fish themselves are the bottleneck, not the location puzzle. If you’re fuzzy on which bait stacks luck best for a given rod, our rod and bait combination guide breaks down the pairings.
The one that trips people up is Stellar Wiring, because it’s the only one gated by weather and time. You need a Blue Moon Totem on a clear night at Snowcap. If you pop the totem under the wrong sky, the lit area at the base of the peak won’t be active, and you’ll sit there casting into nothing.
Return all five to Merlin and he hands you the Rod of Singularity.
What the Rod Actually Does (Honest on the Stat Conflict)
Here’s where we have to be straight with you: the sources don’t agree on what this rod is.
One report puts it near the top of the game’s endgame bracket. That version lists a Lure Speed around 618%, Luck around 287%, an infinite max kg cap, and a mutation table that includes Nova, Umbra, and Singularity mutations, plus a ~10% chance to duplicate a fish. If that’s the real stat sheet, this rod out-muscles most of the developer rods we’ve covered — it’d be a chase worth the route.
Another source lists far lower figures: a ~100,000 kg cap and ~70% Luck. That’s not a bad rod, but it’s a very different tier. Same item name, two very different stat blocks.
We’re not going to pick one for you. The gap is too wide, and the update is too fresh for the community to have locked the numbers. What both sources agree on is the shape of the thing: it’s an endgame chase rod tied to the Nova/Umbra/Singularity mutation family. That part is consistent even where the numbers aren’t.
The Failure Reel: Where This Quest Breaks People
Every long quest has a few steps where players stall for an hour before they realize the mistake. These are the Rod of Singularity ones.
Wasting the Celestial Rod’s 15-catch buff. The anglerfish and the scrap metal both want you to trigger the Celestial Rod’s buff, then swap. The failure is swapping to the Requiem or Plague River too early — before the buff actually lands. You cast, you panic, you swap, and the buff never applied to the fish you wanted. Recovery: count the buff trigger, confirm it’s live on your screen, and only then swap. The buff is the whole reason you’re holding the Celestial Rod at all.
Fishing Nova Gold in the wrong zone. Players read “12 Nova Gold Pieces” and assume they come from Abyssal Zenith like the other items. They don’t — they’re a Mine Shaft drop. You can fish the cavern until your bait runs out and never see a single piece. Recovery: check the item against its zone. Nova Gold is Mine Shaft; Celestial Scrap Metal is The Depths. Two of the four items deliberately live somewhere else.
Missing the Aurora window for Nova Hardened Glass. This one is a weather gate, and if you show up with Cerulean Fang Rod and Starlight Worm but no Aurora, nothing happens. Recovery: don’t fish blind. Pop an Aurora Totem to force the weather, or watch the forecast and come back when it lines up. The rod and bait only matter inside the window.
Burning high-luck bait on Nova Gold Pieces. This is the quietest time-sink. Players stack their best luck bait and totems for the Nova Gold, and it changes nothing, because the spawn rate is already high in the Mine Shaft. Recovery: save your expensive bait for the five Merlin fish, where luck actually moves the needle. Nova Gold is a volume farm, not a luck farm.
Decision Framework: Which Rod and Bait for Each Task
If you want the whole route on one card, here it is.
| Task | Rod | Bait / Condition | Why |
|---|---|---|---|
| Celestial Crowned Anglerfish | Celestial Rod, then Requiem Rod | Rainbow + Sparkling Totems active | Celestial triggers the 15-fish buff; Requiem rolls the Sparkling/Shiny mutation. |
| Nova Hardened Glass | Cerulean Fang Rod | Starlight Worm, Aurora weather only | The item only drops during Aurora. |
| Nova Gold Pieces | Any (Crab Cages) | Starlight Worm, no high-luck bait | Spawn rate is already high; extra luck is wasted. |
| Celestial Scrap Metal | Celestial Rod, then Plague River | Garbage Bait, The Depths daytime | Buff triggers, faster rod hauls during daytime. |
| Five secret fish | Requiem or Plague River | High-luck bait | Luck is the whole game for the hidden fish. |
The through-line: the Celestial Rod’s 15-catch buff is a setup tool, not a fishing tool. You trigger it, then you move on. Treating it as the rod you stay on is the single most common routing error in this whole quest.
The Counter-Intuitive Trick That Saves Hours
Two habits will save you more time than any stat upgrade.
First: don’t high-luck the Nova Gold Pieces. Your instinct after a quest full of rare mutations is to stack luck on everything. Resist it here. The Nova Gold spawns fast in the Mine Shaft on plain Starlight Worm, and every high-luck bait or Aurora totem you spend on them is money lit on fire. Save those for the five Merlin fish, where the spawn rate is genuinely low and luck is the only lever you have.
Second: group your tasks by location, not by quest order. Abyssal Zenith covers several requirements at once — the anglerfish, the Nova Hardened Glass, and later Merlin’s Stabilizer Core all live in that same cavern. Do everything in the cavern in one trip before you swim out. And keep a Mutation Totem in your back pocket as a backup, to force a Nova or Celestial mutation if a roll isn’t landing. The less you swim between zones, the faster the whole route closes.
FAQ
How do I get the Rod of Singularity in Fisch?
You finish two chained quests. First, talk to Corvus in the Abyssal Zenith Astral Cavern and collect four items: a Sparkling or Shiny Celestial Crowned Anglerfish, one Nova Hardened Glass, 12 Nova Gold Pieces, and 12 Celestial Scrap Metal. Turn those in to get the Dyson Sphere. Take the sphere to Merlin, then catch his five secret fish: Stabilizer Core, Unstable Crystal, Umbral Matrix, Singularity Control Unit, and Stellar Wiring. Return all five to Merlin and he hands you the rod.
Where is Abyssal Zenith?
Abyssal Zenith sits in Sea 3. Swim straight down to the sea floor and look for the black hole portal at the bottom. Enter it and you drop into the Abyssal Zenith Astral Cavern, where the NPC Corvus waits. The same portal is used again for Merlin’s Stabilizer Core fish later, so memorize the swim path. Several of the quest’s requirements — the Celestial Crowned Anglerfish, the Nova Hardened Glass, and the Stabilizer Core — all fish inside this one cavern, so group those trips.
What does the Dyson Sphere do?
The Dyson Sphere is the hand-off item between the two chains. Corvus gives it to you after you finish the four Abyssal Zenith items, and you carry it to Merlin. It has no fishing stats or passive of its own — it is a quest token that gates Merlin’s five-fish chain. Do not sell it or drop it. If you lose track of the step, check your quest tracker: no Dyson Sphere means Merlin will not start the secret-fish request.
How do I catch the 5 secret fish for Merlin?
Each fish hides in a different zone. Stabilizer Core is back in Abyssal Zenith. Unstable Crystal is in Boreal Pines, through a dark portal at the center of the ice lake. Umbral Matrix is in Everturn Forest, in a cave at the central pond’s edge. Singularity Control Unit is under the bridge in Cryogenic Canal. Stellar Wiring needs a Blue Moon Totem on a clear night at Snowcap. Use a high-luck rod like the Requiem or Plague River with high-luck bait for all five.
Is the Rod of Singularity the best rod?
Hard to answer cleanly because sources disagree on its stats. One report lists roughly 618% Lure, 287% Luck, an infinite weight cap, and Nova, Umbra, and Singularity mutations with a ~10% duplication chance — which would make it a top-tier endgame rod. Another lists a far lower ~100,000 kg cap and ~70% Luck. Until the numbers are confirmed in-game, treat it as a strong endgame chase rod, not a guaranteed best-in-slot. Check the best rods tier list for the current ranking.
Related Guides
- Fisch Best Rods Tier List (2026) — Where the Rod of Singularity lands against every other rod, once the stats are confirmed.
- Fisch Rod Progression Timeline — The order to earn the Celestial Rod, Requiem, Cerulean Fang, and Plague River before you start.
- Fisch Rod and Bait Combination Guide — Which bait stacks luck best on the rods this quest makes you carry.
- Fisch Atlantean Storm Bestiary — The hidden-fish spawns and mutations that sit in the same endgame space.
- Fisch The Deep Update Guide — Maps the Sea 3 zones and The Depths, since Abyssal Zenith is part of that expansion.